When you’re coming up with new home improvement ideas, you may forget about the tiles in your home. If you leave them alone, your tiles may dull, strain, or even worse, crack.
What’s the secret to preserving that fresh, polished look? Tile sealing! It guards your floors and walls from the stains of spilled coffee and sauces.
Here, you’ll read a step-by-step process for effective tile sealing:
- Cleaning
- Choosing the right sealer
- Applying the sealer
- Drying time
- Maintenance
Read on to learn more about each step!
1. Start With a Thorough Cleaning
Before you start applying a sealer, it’s important to clean your grout and tiles properly. Any dirt, dust, or stains left on the surface will get trapped under the sealer, leading to an uneven finish and potential damage down the line.
Be sure to use a mild cleaning solution and a soft brush to scrub the tiles to ensure all grime is fully removed. Wash the area with clean water and wait for it to completely dry off before moving on to the next step.
2. Choose the Right Sealer
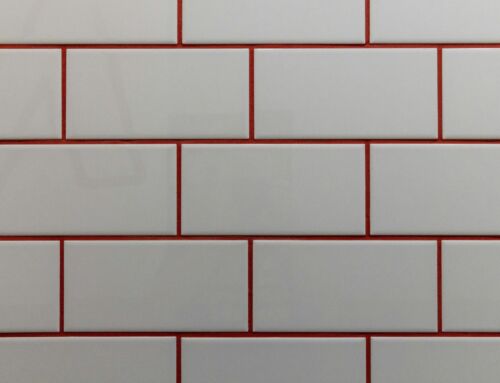
Not all your tiles need sealing, and choosing the right type of sealer for your tile type is crucial for effective tile protection methods. For instance, porous tiles like natural stone like travertine need a penetrating sealer.
On the other hand, non-porous tiles like glazed ceramic only need the grout to be sealed. Be sure to check the manufacturer’s recommendation for your specific tile type to ensure you use the appropriate sealer.
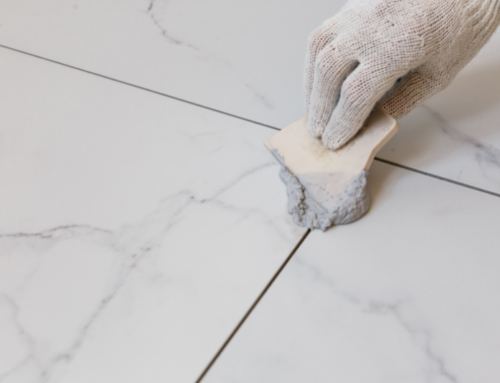
3. Apply the Sealer Evenly
When it’s time to apply the sealer, use either of these to ensure even coverage:
- Paint roller
- Brush
- Specialized applicator
Then, pour the sealer into a paint tray and work in small sections to prevent the sealer from drying too quickly or being applied unevenly. The key is to apply thin, even coats to avoid a sticky or blotchy finish. If you accidentally apply too much, you can use a clean cloth to quickly wipe away any excess.
4. Allow Proper Drying Time
Patience is key when sealing tiles. After applying the first coat, allow it to dry completely, usually takes at least 24 hours. During this time, make sure the area is well-ventilated to help with the drying process.
If your tile type or manufacturer’s instructions a second coat, apply it after the first coat has dried. Rushing this step may lead to an uneven seal and reduced protection.
5. Regular Maintenance and Re-Sealing
Tile sealing is not a one-time thing. To keep your tiles in top condition for years to come, reapply the sealant every 3 to 4 years. You should check the tiles in high-traffic areas like your kitchen or hallway to ensure that your sealing is still in great shape.
When water no longer beads on the surface of your tiles, then it’s time to re-seal. Regular maintenance with mild cleaners will also help extend the life of your sealant.
The Groutsmith: Professional Tile Sealing
Tile sealing doesn’t have to be complicated and messy. With The Grouthsmith, you can gain professional cleaning, sealing, and repair! We have experts who can provide tile maintenance tips and ensure that your tiles stay clean and look high-quality for years to come.
Give us a call so we can help you with all your tile and grout issues!