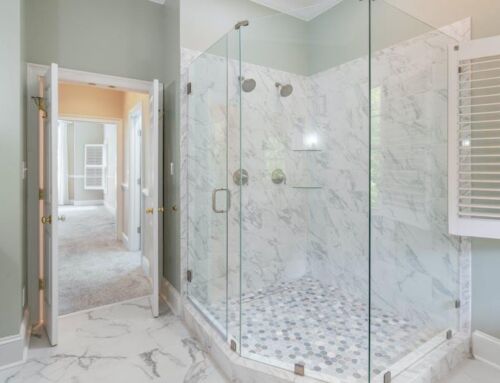
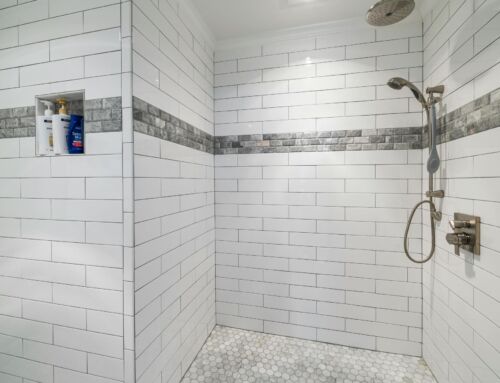
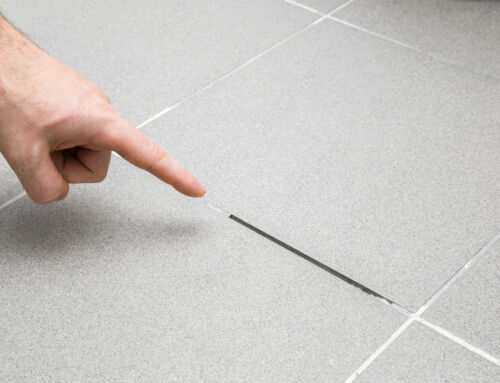
Imagine stepping into your beautifully tiled shower only to be greeted by the sight of black caulk creeping along the seams. It’s frustrating, right?
Not only does it ruin the look of your bathroom, but it could also signal deeper issues that need immediate attention.
Are you wondering why your shower caulk is black? Keep reading to learn how to fix this problem and restore your shower to its former glory.
Understanding Why Shower Caulk Turns Black
The black discoloration seen is often a result of moisture build-up. Steam can accumulate during hot showers, providing an ideal environment for mold and mildew to thrive. Some primary reasons for black caulk include the following:
- Infrequent cleaning of grout and caulk allows dirt and grime to settle, leading to stains
- Some types of caulk are more prone to mold growth due to their composition
- Showers naturally have high humidity, especially without proper ventilation
Steps to Remove Black Caulk
If you follow the proper methods, removing black caulk is straightforward. Here is a breakdown of the process to get started.
Gather Your Supplies
You’ll need a utility knife, caulk remover, mold cleaner, and protective gloves. A caulk removal tool loosens stubborn sections without damaging the surface.
Cut Out the Old Caulk
Use the utility knife to slice the caulk carefully. Work slowly to avoid scratching the tiles or damaging the surrounding grout.
Clean the Surface
After removing the caulk, clean the area thoroughly to remove any residual mold and grime. Use a mold cleaner or a mixture of vinegar and baking soda to kill any remaining spores.
Apply New Caulk
Choose a mold-resistant bathroom caulk replacement and apply it evenly to the joints. A caulk smoothing tool or damp finger can help create a watertight seal.
Allow It to Cure
Follow the manufacturer’s guidelines on curing time before using the shower. Keeping the bathroom well-ventilated during this period helps the caulk dry properly.
Preventing Future Issues
Now that you’ve successfully tackled the black caulk, it’s essential to implement some preventive measures:
- Always use the bathroom fan during and after showers to reduce humidity levels
- Clean the shower area at least once a week to prevent mold build-up
- Invest in high-quality grout and caulk products that resist mildew
Taking these proactive steps can help keep your bathroom fresher for longer.
Get Expert Help
Some caulk issues go beyond basic DIY fixes, especially when shower mold has spread beneath the surface. A professional who specializes in grout and tile restoration can:
- Assess the damage
- Remove deep-set mold
- Recommend and apply long-lasting solutions
Hiring an expert ensures proper caulk application, reducing the risk of future leaks and mold growth.
What to Do When Shower Caulk Is Black
If you’ve noticed that your shower caulk is black, addressing the issue is essential to avoid further problems. Understanding the reasons behind it and taking the proper steps to fix it will restore your bathroom to the safe sanctuary it should be.
At Groutsmith of Boise, we specialize in top-quality tile and grout cleaning, restoration, and care to bring your bathroom back to life. Our certified technicians use the best products and techniques to ensure your surfaces stay clean and mold-free.
Contact us today for a free demo and estimate.


