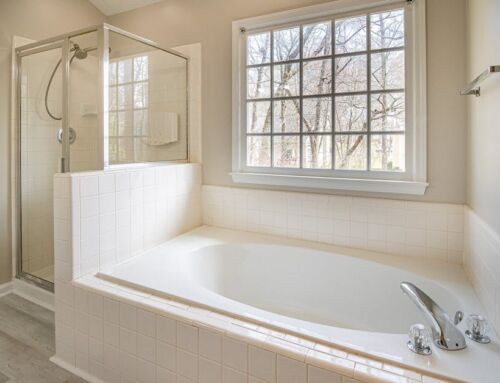
Have you noticed your tile floors looking dull or outdated lately? Over time, grout can lose its charm, becoming discolored or stained from everyday wear and tear. But don’t worry, there’s an easy fix! With simple grout coloring techniques, you can refresh your tiles and make them look brand new.
If you’re among the 62% of homeowners planning renovations in the next 12 months, we’ve got you covered. Whether you’re updating kitchens, bathrooms, or entryways in Boise, this step-by-step guide on how to change grout color will help you refresh your grout with minimal effort.
Why Change the Grout Color?
Changing grout color offers advantages that can significantly improve your space. Consider the following.
Enhances Aesthetics
Adding a fresh color that either matches or contrasts your design ties everything together. This change can make your space feel modern and inviting.
Improves Cleanliness
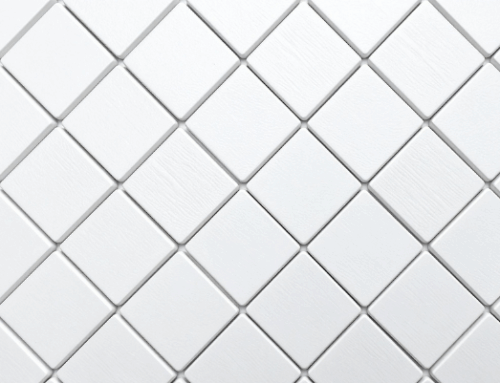
Choosing darker grout and sealing it properly can hide stains and imperfections, making maintenance easier. Research the best grout color options for your space to ensure a lasting, polished look.
Cost-Effective Update
Changing the grout color is cheaper than replacing the tiles. This simple update revitalizes your space without incurring high costs.
How to Change Your Grout Color: Simple Methods Explained
How can you leverage these advantages? The upcoming sections will explore practical DIY grout color change tips and grout recoloring techniques. Take a look.
Step 1: Gather Your Supplies
First, you need to assemble your materials. Here’s what you’ll need:
- Grout colorant
- Grout sealer
- Brush or applicator
- Cleaning solution
- Scrub brush
- Old rags or microfiber cloths
- Water
Step 2: Clean Your Grout
Cleaning your grout is crucial. Without a clean surface, the colorant won’t adhere properly. Use a mixture of water and a strong cleaning solution to scrub away dirt, stains, or mold:
- Apply the cleaning solution generously to the grout
- Scrub with a brush and rinse well
- Allow the grout to dry completely before proceeding
Step 3: Apply Grout Colorant
Now that your grout is clean, it’s time to apply the grout colorant. Here’s how to do this:
- Using a brush or applicator, apply the colorant to the grout lines, starting from one corner
- Work in small sections for better control
- Be sure to cover the grout completely, using a little excess colorant to allow it to seep into the surface
Step 4: Allow to Dry
Following application, allow the colorant to dry as per the manufacturer’s instructions. Drying times can vary, but it’s often between 30 minutes to several hours.
Step 5: Seal the Grout
Once your colorant is completely dry, sealing the grout is essential. Here’s why:
- Sealing protects the new color from spills and stains
- Sealed grout is much easier to clean
- It prolongs the life of the grout itself
To seal, apply a grout sealer according to the instructions and let it dry.
How to Change Grout Color Easily
Learning how to change grout color is a simple and effective way to revitalize your space. This process requires minimal effort, but the results are well worth it.
Groutsmith of Boise is a locally owned family business offering top-quality tile and grout cleaning, restoration, and repair. Fully certified and insured, we provide efficient, expert service with the best products to keep your surfaces looking beautiful. Contact us today to get started!